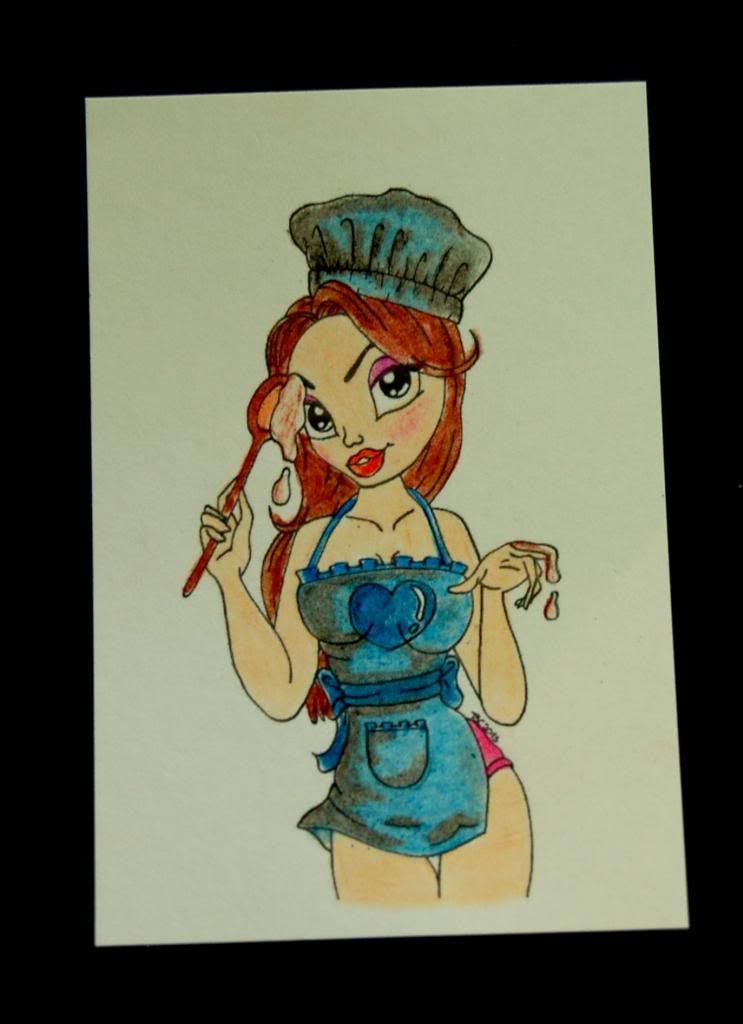
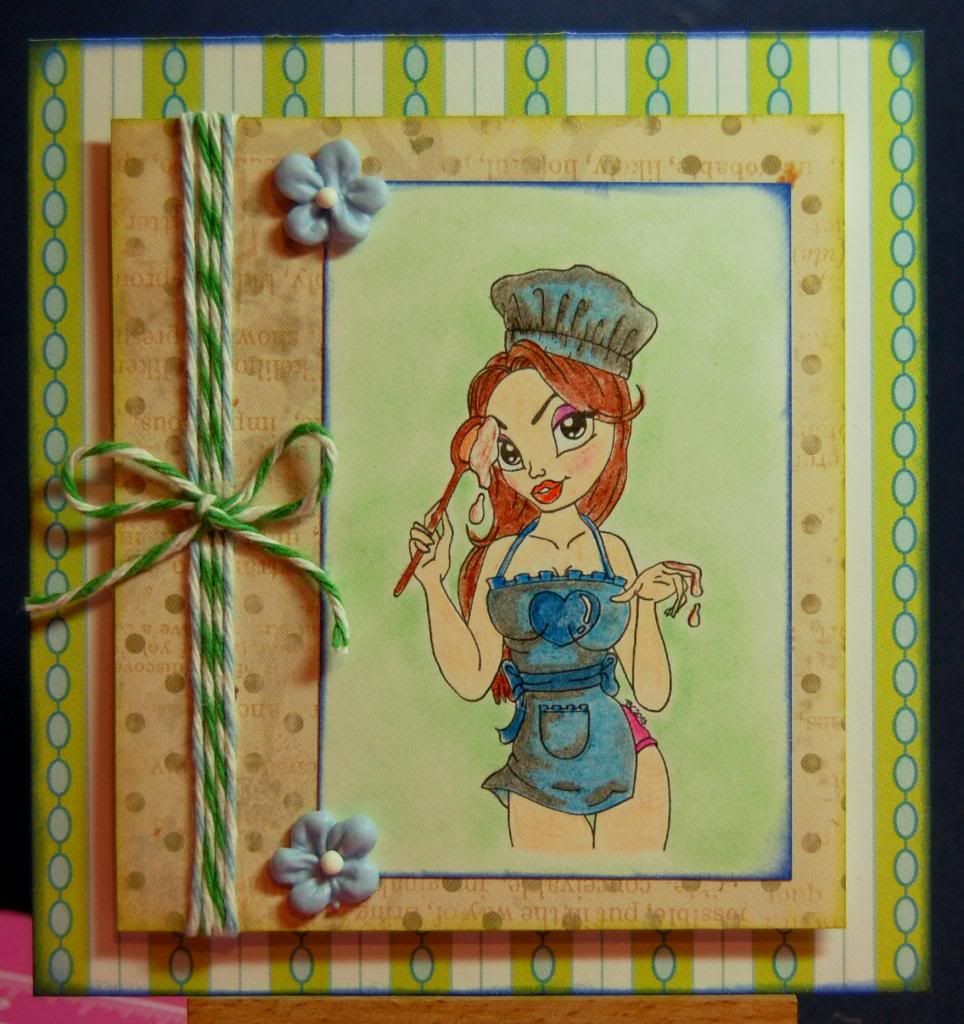
I used the culinary Claire digital stamp for my project today.
There are five simple steps to chalk coloring a background. I have listed them and shown pictures of each step.
Color your image using whichever medium you prefer. If my digital stamp or ink stamp is a bigger design, I actually color it in with chalk too. I colored this digital stamp with colored pencil.
1. Pick out the color you will be using for your background.
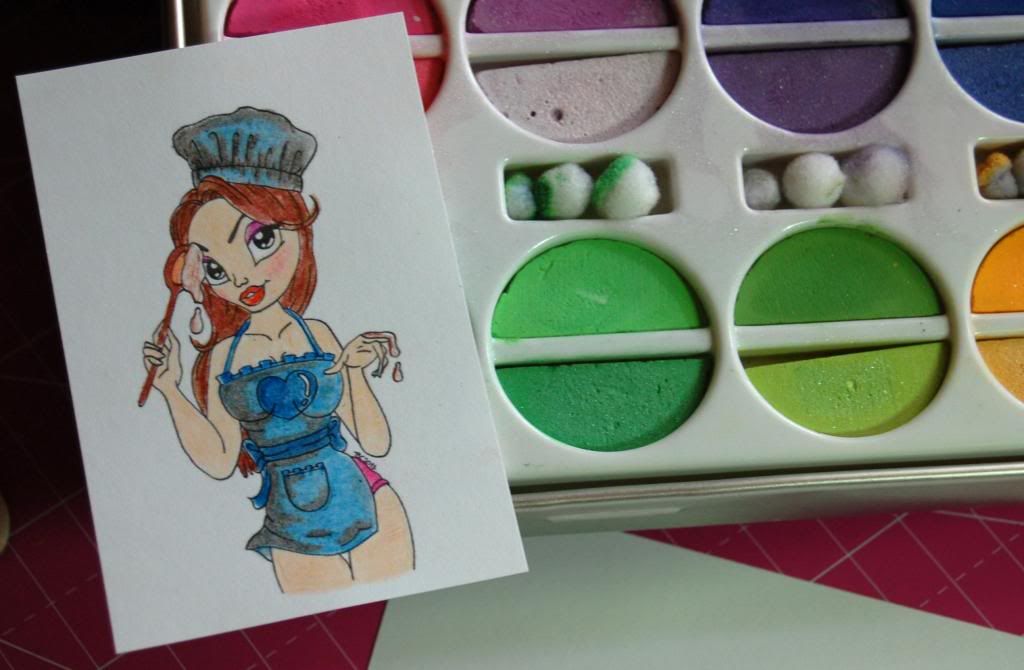
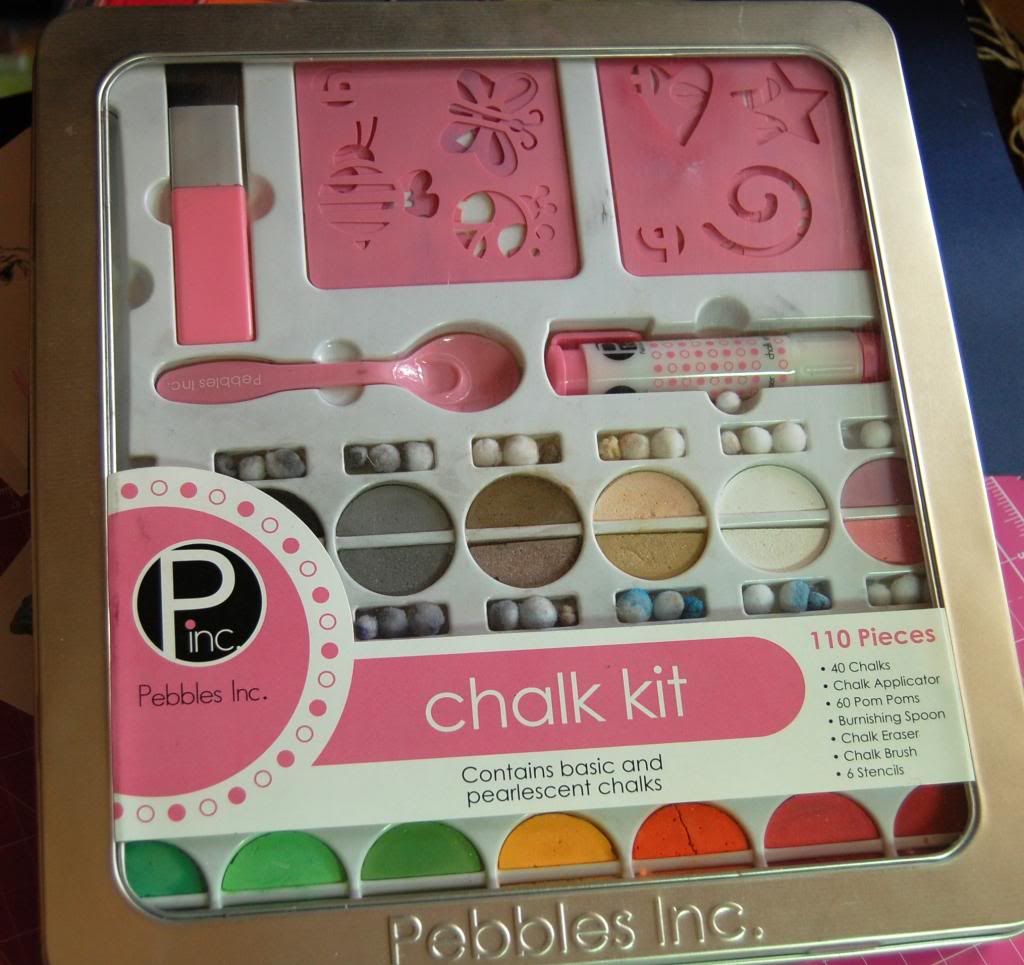
I am using Pebble chalks for this project.
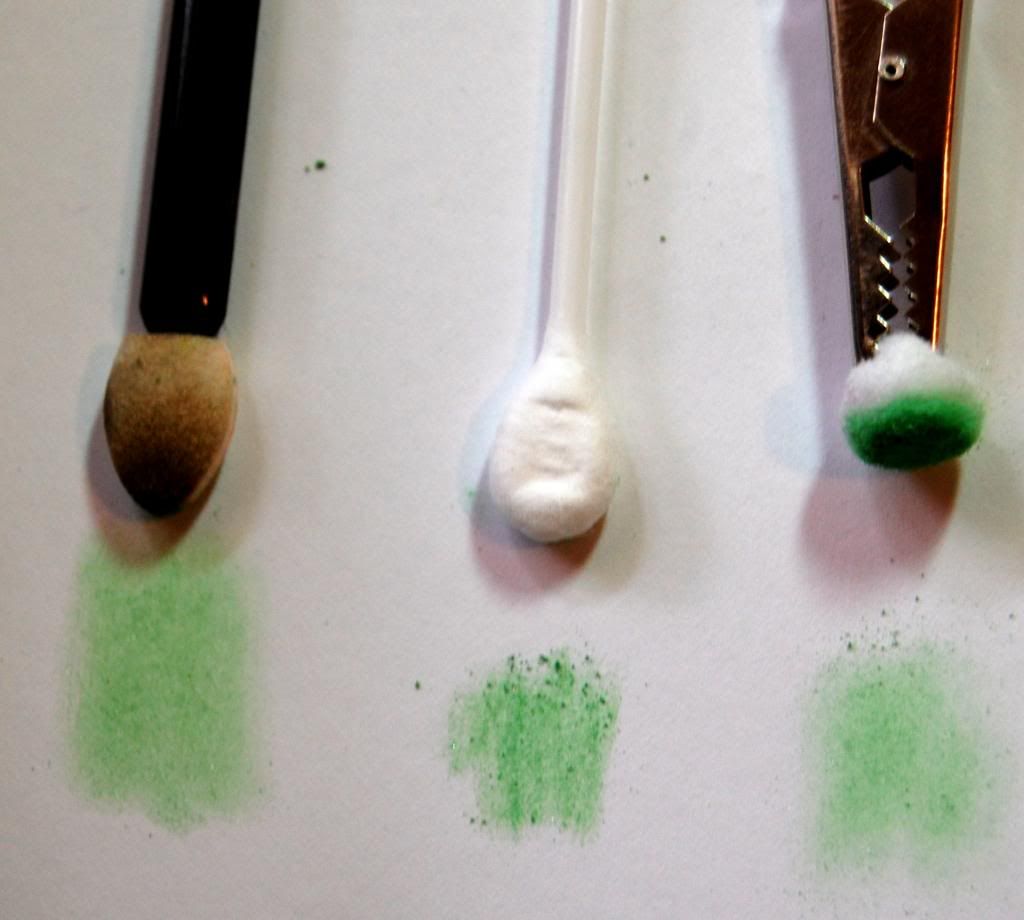
2. Decide which tool you will use for coloring. I have three different types I choose from and it all depends on the look I want.
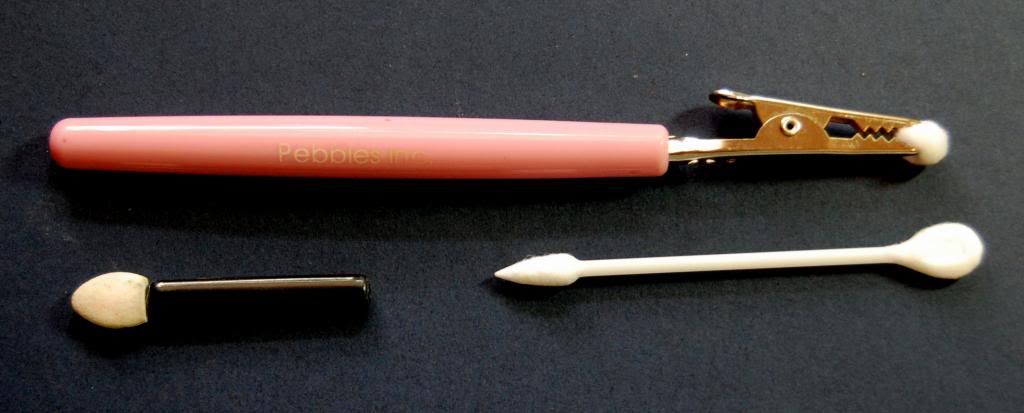
The pink handled tool comes in the Pebbles Inc. chalking kits and you use different sized mini cotton balls in the clip.
The other one is a good old fashioned eye shadow applicator. You can buy them for a drug store or you can by the craft kind. Both work pretty well.
The third applicator is the make up applicator (cotton swab) that you buy from the drug store.
The pink applicator and eye shadow applicator give the chalk a soft look whereas the swab applicator puts the chalk on darker.
I like to use the eye shadow applicator or the chalking applicator since they both give a softer look.
3. Start coloring close to the image since the chalk will go on darkest in that area.
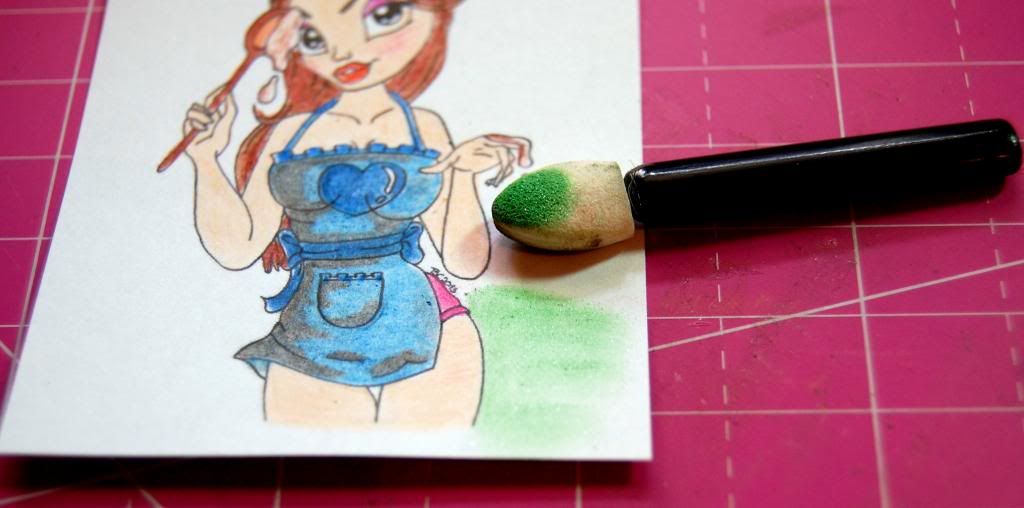
4. Once you've framed the image, pull out and swirl the chalk to give it a cloud appearance and make it lighter towards the end of your picture.
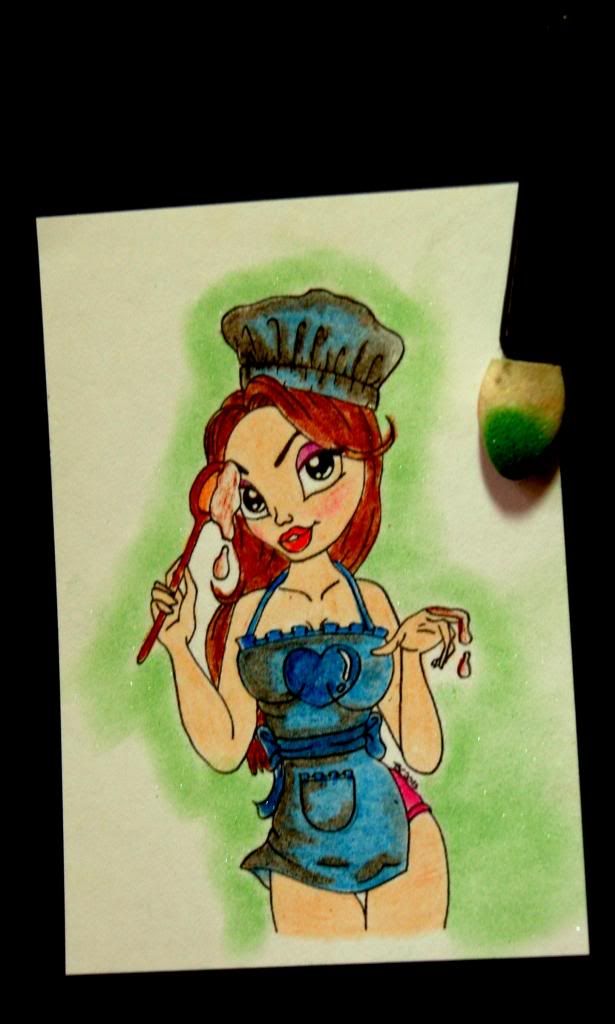
5. Finally, use the tip of the swab to go back in and color the areas that were too small for the bigger chalk applicators.

** I use my finger to rub the chalk into the paper so it doesn't rub off but I also use a quick spritz of hair spray to set the chalk.
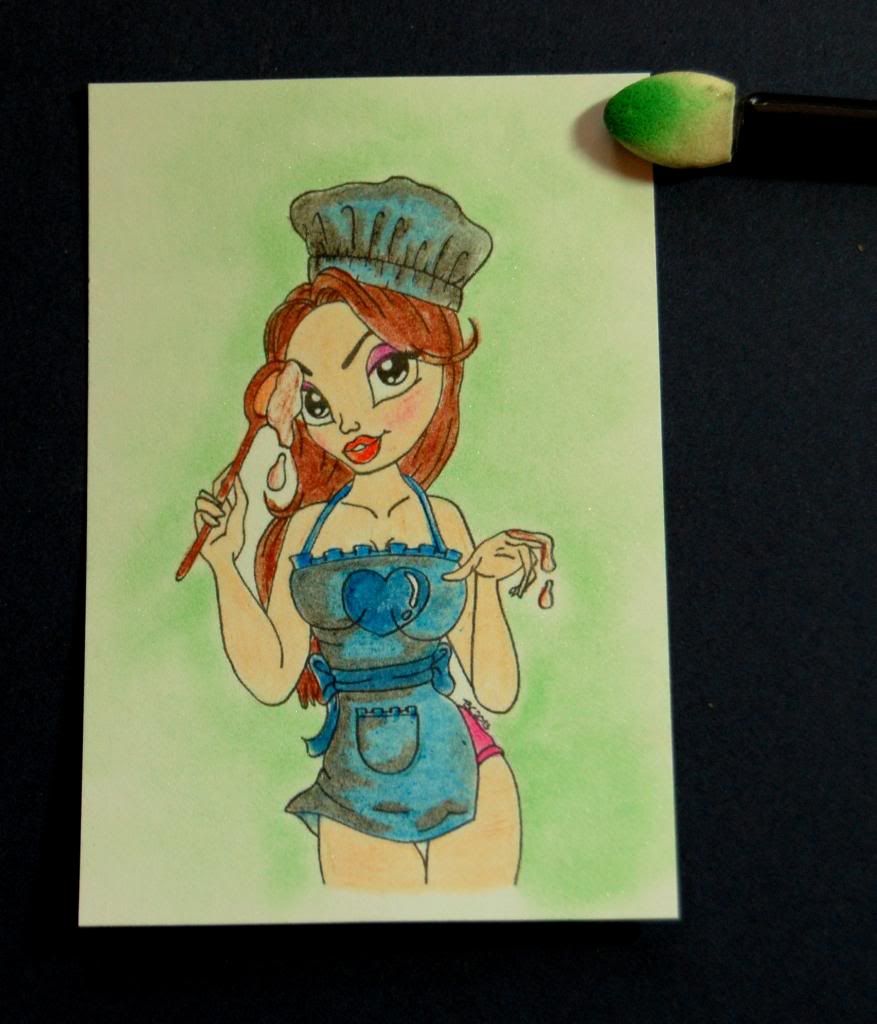
Here is the finished card with the chalking completed.
Super cute card and wonderful step-by-step tutorial my friend!!!!
ReplyDeleteHugs, Love, and Friendship
Lynne
Great tutorial on the chalks! Love the images as well!
ReplyDeleteLove the comparison shots. Very helpful tutorial, thanks! I keep seeing this image. It's everywhere....
ReplyDelete